The Complete Makeup Sponges Guide: Uses, Shapes, and How to Use them

Even if you are utilising the very best foundation that money can buy, if you do not have the appropriate equipment to apply it, it is still possible that it may finish up appearing too cakey, too streaky, or just plain. To solve this problem, different shapes and uses of makeup sponge are available.
Although there are many ways to apply the foundation, including with makeup brushes and your fingers. Beauty blenders, on the other hand, outperform them all in terms of efficiency in applying the best foundation while using less product. Nowadays, there are so many shapes and uses of makeup sponges are available in the market, and each one has its own purpose. In order to help you, we’ve gone over everything there is to know about beauty sponges.
Types or Shapes of Makeup Sponge:
1. Triangle Shaped Beauty Sponge:
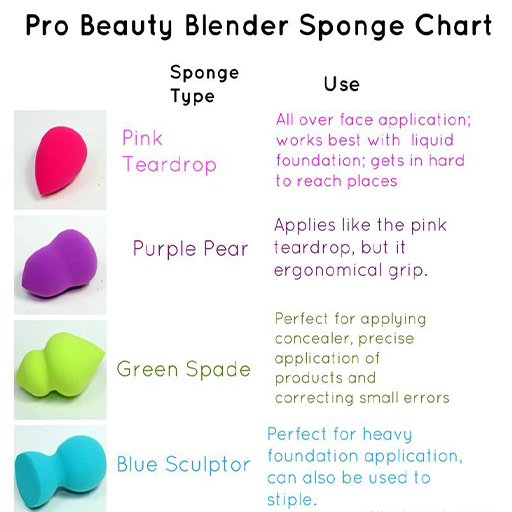
The triangular shape of the beauty sponge is mostly used by the makeup artists worldwide. It allows for easy application and blending of makeup, particularly in hard-to-reach areas such as the corners of the eyes and around the nose. Moreover, if you are a beginner and don’t know much about how to do makeup then this is the ideal chioce for you.
2. Pear Shaped Beauty Sponge:
The Pear Shaped Beauty Sponge is a revolutionary makeup tool that helps you achieve a flawless, airbrushed look. This unique sponge is designed to fit the contours of your face, allowing you to blend and buff your makeup with ease. The pointed tip of the sponge is perfect for applying foundation and concealer around the eyes and nose. Whereas, the rounded end is great for blending blush and bronzer. Moreover, the Pear shapes and uses makeup sponge also features a flat side that can be used to apply powder and contour products.
3. Oval Shaped Beauty Sponge:
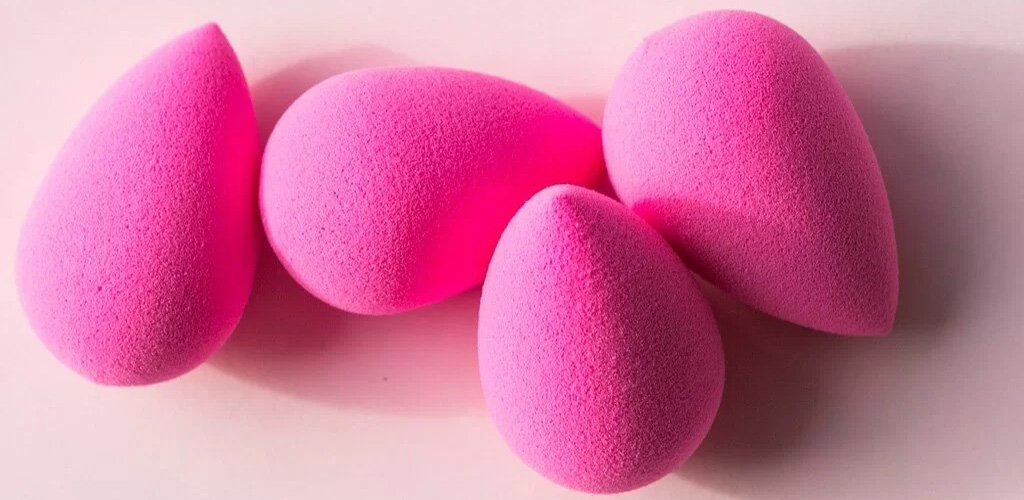
The oval shaped beauty sponge is a must-have tool for any makeup enthusiast. This sponge is designed to help you apply and blend your makeup foundation with ease and precision. The unique shape of the sponge allows you to reach all areas of your face, including hard-to-reach spots like around the eyes and nose. The wider end is for applying foundation. Whereas the tapered shape pointer is ideal for blending concealer over specific parts of the face.
Moreover, the soft, flexible material of the sponge ensures that your makeup is evenly blended and looks natural.
4. Multi-Tasker Sponge:
When it comes to the application of basic foundation and bronzer, the broad, rounded side of this multi tasker sponge is your best bet. The pointy end is for achieving finer details, while the flat side is ideal for creating contours with creamier materials. Moreover, if you are someone who loves to do makeup and likes to spend time on the finishing of the foundation. Then this shapes and uses makeup sponge is the best all-in-one tool for you.
How to Clean Makeup Sponges?
Cleaning your beauty sponges is an important part of maintaining your makeup tools. Here are some tips on how to clean makeup sponge:

1. Start by wetting the sponge with warm water. This will help to loosen any makeup or dirt that may be stuck in the sponge.
2. Add a small amount of gentle soap or shampoo to the sponge and work it into a lather.
3. Gently massage the sponge with your fingers to help remove any makeup or dirt that may be stuck in the sponge.
4. Rinse the sponge with warm water until all of the soap is removed.
5. Squeeze out any excess water and lay the sponge flat on a towel to dry.
6. Once the sponge is dry, store it in a clean, dry place until you are ready to use it again.
Following these steps will help keep your beauty sponges clean and free from bacteria and dirt, ensuring that your makeup looks flawless every time!
How to Use Makeup Sponges?
Here are some steps on how to use makeup sponge:
1. Choose the correct Makeup Sponge:
First of all, choose the right beauty blender among the above-mentioned types as per your skin’s needs and requirements. Choose the one that minimises the effort of applying the foundation and is easy to hold.
2. Tap, Tap and Tap:
The next very important factor is how you use your makeup spongues to blend the foundation. YES its matter! If you want an airbrushed finish and a natural look, always tap the beauty sponge on your face. Not rub or swipe it. The tapping action helps deposit the makeup onto your face and blend it at the same time, which is essential for attaining a flawless complexion without leaving any lines or smudges behind.
3. Uses Both Ends of the Makeup Sponge:
Utilize your makeup blender as frequently as you can so that you can get the most out of it. When applying foundation, place the product on the pointed end of the sponge, and then apply it directly to your skin. This will give you the most even coverage. Then, apply the foundation to your face by dabbing, rolling, and stippling it on using the rounded side of the sponge.
4. Add Some Drops of Primer on the Spongue:
Just like your face needs to be primed before applying makeup, the same is true for your beauty sponges. Before using the sponge on your face, just drop some makeup primer onto your sponges. It will save your foundation by acting as a shield and preventing the sponge from absorbing it. Because of this, in the long term, you will use a smaller quantity of the product.
5. Invest to Buy Different Shapes of Sponge:
As you now know, blending sponges for cosmetics are not simply for foundation. Get a couple beauty sponges in various sizes and shapes to utilise for other aspects of your beauty regimen. Use a different makeup blender to apply your foundation if you’re applying a liquid highlighter, such as Rimmel London jelly highlighter.


